

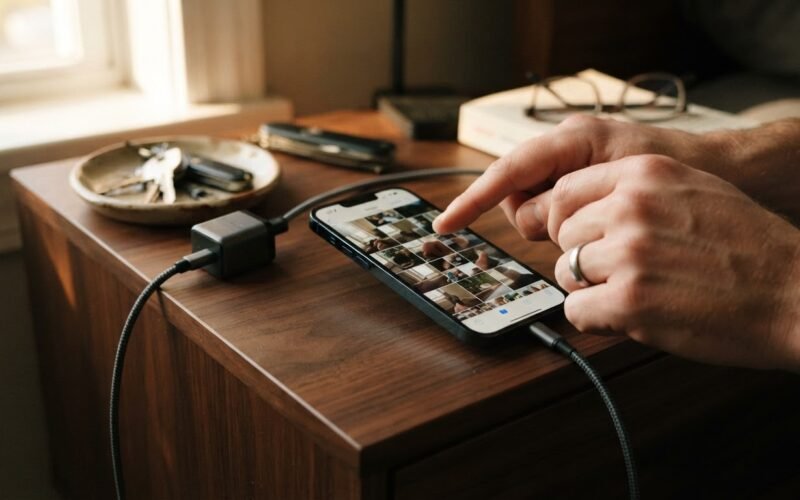
You are running out of storage space on your iPhone, so you decide to delete a few hundred old photos. You assume they are safely stored in iCloud, so your local cleanup is harmless. Unfortunately, this is a classic trap that leads to permanently lost memories.
Yes, deleting a photo from your iPhone will immediately delete it from your iCloud storage as well. This is because iCloud Photos is a real-time synchronization service, not a one-way backup vault. Its sole purpose is to make sure your photo library looks exactly the same on your phone, iPad, Mac, and iCloud. If you delete a picture in one place, it disappears everywhere.
To understand why this happens and how to work around it, you need to understand the difference between syncing and backing up. For a deeper look at this concept, you can read about how cloud backup vs sync works. If you are specifically trying to clear phone space without losing your files, there are safe, practical ways to do it.
Why Deleting From iPhone Deletes From iCloud
When you turn on iCloud Photos, your phone is no longer sending copies to an independent storage locker. Instead, it is linking your local Photos app directly to your cloud library. According to Apple Support, any action you take on your phone, including editing, favoriting, or deleting, is instantly mirrored in iCloud.
This design keeps all your Apple devices in perfect harmony. If you take a picture on your iPhone, it appears on your iPad. If you crop a photo on your Mac, the cropped version shows up on your phone. Consequently, when you hit the trash can icon on your iPhone, you are telling the system to remove that file from your entire Apple ecosystem.
Many users try to bypass this by turning off iCloud Photos in their settings, deleting the files from their phone, and then turning iCloud Photos back on. This is a critical mistake. As noted in Apple Support discussions, once you turn the sync back on, the system will recognize the deletions on your phone as the most recent update and will proceed to delete those same photos from iCloud. For more details on this specific behavior, read our guide on whether deleting photos from iPhone deletes them from iCloud.
Fortunately, you do not have to choose between a full phone and a safe photo library. Here are the three best ways to manage your storage safely.
Option 1: Turn on Optimize iPhone Storage
This is the safest native method to reclaim gigabytes of space on your iPhone without losing access to your photos. Instead of deleting files, this setting tells your iPhone to manage its own space automatically.
When your phone runs low on storage, it replaces your full-resolution photos and videos with tiny, space-saving thumbnails. The original, full-resolution files remain perfectly safe in iCloud. When you tap on an optimized thumbnail, your phone quickly downloads the full-resolution version from iCloud.
- Open the Settings app on your iPhone.
- Tap your name at the top of the screen to access your Apple Account settings.
- Tap iCloud, then tap Photos.
- Select "Optimize iPhone Storage" instead of "Download and Keep Originals".
If you are paying for extra iCloud storage but your phone is still telling you that your storage is full, this setting is almost certainly the culprit. You can learn more about configuring this properly in our article on why your phone is full even with extra cloud storage.
Option 2: Use Google Photos to Safely Delete Local Copies
If you want to completely remove photos from your physical phone while keeping them in the cloud, you should use a secondary service like Google Photos. Unlike iCloud, Google Photos has a dedicated tool designed to delete local device copies while keeping the cloud copies intact.
- Download the Google Photos app from the App Store and sign in with your Google Account.
- Enable the Backup feature in the app settings and wait for all your photos to upload completely. Do not delete anything manually yet.
- Once the backup is 100 percent complete, tap your profile icon in the top right corner of the Google Photos app.
- Tap "Free up space". The app will identify which photos are safely backed up in the Google cloud and will delete only the local copies from your iPhone.
This allows you to empty your physical phone storage while keeping your entire library searchable and viewable in the Google Photos app. For a detailed walkthrough on setting this up, check out our guide on how to delete photos from your phone but keep them in Google Photos.
Option 3: Recover Accidentally Deleted Photos
If you have already deleted photos from your iPhone thinking they were backed up, do not panic. Apple does not erase deleted photos immediately. Instead, they are moved to a temporary holding folder where they remain for 30 days before being permanently deleted.
- Open the default Photos app on your iPhone.
- Tap the Albums tab at the bottom, or look under the Collections section depending on your iOS version.
- Scroll down to the Utilities section and tap "Recently Deleted".
- Unlock the album using Face ID, Touch ID, or your device passcode.
- Tap Select at the top, choose the photos you want to retrieve, and tap "Recover" in the bottom right corner.
According to Apple's recovery guide, recovering these photos will put them back into your main library and restore them to iCloud. If you find that your storage is still full even after attempting to clean up this folder, you can read our troubleshooting guide on why iCloud is still full after deleting photos.
Common Storage Mistakes to Avoid
When trying to free up space, avoid these two frequent errors:
- Deleting immediately after installing a backup app: Many users download Google Photos or Microsoft OneDrive, turn on backup, and immediately start deleting photos from their iPhone camera roll. Always log into the desktop version of the backup service on a computer first to verify that your photos have actually uploaded before you delete them from your phone.
- Manually clearing the Recently Deleted folder: If you are desperate for immediate space, you might be tempted to empty your Recently Deleted album. Only do this if you are absolutely certain you will never need those files again, as this action bypasses the 30-day safety net and deletes the files permanently from both your phone and iCloud.
Before making any major changes to your photo library, always check your current local storage status by going to Settings, then General, and selecting iPhone Storage to see exactly how much space your photos are taking up.
